This is the first part of Human Managed’s event-driven API story. In this part, we cover the high-level decisions that we made to build this part of our platform. In the second part, we explore how we translated these high-level decisions into run-time components.
Note: All product names, logos, and brands are property of their respective owners. All company, product and service names used in this website are for identification purposes only. Use of these names, logos, and brands does not imply endorsement.
The Challenge
We had to build an event-driven modular platform. What does that even mean? There are two levels of conversation when you define something like this: the 50,000-feet-in-the-cloud view, and the sea-level view.

I’ll break it down into its constituents for you:
- event-driven — what is an event? I believe there are only 3 things you need to remember: there is a time dimension involved, it generates data, it is of interest to you.
- modular — think LEGO, LEGO, LEGO. The modular architecture needs a few things to be come together: loose coupling, reusability, and orchestration.
- platform — there are many definitions of this, but I’ll settle on this one: it facilitates a broad set of interactions across a large number of people, processes, and technologies.
The challenge was to translate these lofty goals into engineering work. But, if you really think about it, all 3 come together neatly. The modular component is the logical building block of a platform. In a platform, I’d rather have the ability to build a house than to have a single instance of a house. How do you orchestrate all the modular components that interact in a platform? You use an event-driven approach!
Our Stacks

The Human Managed platform stacks
We have 4 of these, and they are:
- Connect — how and what data we collect
- Automate — how we let machines do the work
- Orchestrate — how we curate and control all the moving parts
- Present — how we let people know the important stuff
An API layer was an obvious choice we had to build to address the 4 stacks, and the 50,000 feet vision. It has one main job to do — it connects, automates, orchestrates, and presents event-driven intelligence to our customers and our community.
In the beginning…
If you have a clean-slate, and you can pick any technology to build with, where would you start? That was the challenge we faced 1 year ago when deciding on our API strategy.
Sure, we had some guiding principles and a few rules to adhere by:
- It has to run in a public cloud provider infrastructure.
- It has to be stateless.
- It has to adhere to a microservices architecture.
- It has to be secure.
Engine Choice: trial and error
Since we knew it had to be stateless and it had to use a microservices architecture, the obvious choice would be to pick from one of the “serverless functions” (I use a quote because there really are servers in the background, but it’s taken care of by the cloud provider) available in the cloud.
We initially tried AWS lambda functions, but realized quickly it had a performance hit. AWS would automatically shutdown the instance running your lambda function, and spin it up on-demand. Great for cost management, but not so great for performance. AWS does not even guarantee the compute instance that was used to run your lambda function previously would be the same one it would spin-up in again (although, if you really think about it, it only makes sense for AWS to re-use the same underlying compute instance because it’s more efficient for them).
Based on some initial benchmark tests, we finally settled for Google App Engine (in hind sight, the comparison wasn’t apples to apples because the equivalent in AWS is Elastic Beanstalk) using the Python run-time.
API Web Framework
There were also a number of API web frameworks we could use, but the choice here was very quickly obvious to us. First, we have Python skillsets, second, we wanted something fast, third, we wanted to support the OpenAPI schema: so we went ahead with the FastAPI web framework.
FastAPI is really fast (yes, that means performant!)
This was a mature project with regular updates being made. The learning curve was minimal as the author had provided a very good set of documentation: he had documented steps to solve common “how do I do this?” questions! That was a great boon to us in bridging the learning gap.
Authentication Approach
We decided from the get-go that OAuth 2.0 would be the preferred choice for us for many reasons. It’s industry standard, it’s really secure, it allows users to grant / deny permissions before resources are accessed, and it’s pretty extensible (which was an important point for us — more on this later).
One of the key strengths of OAuth 2.0 is the ability to carry your authentication state around in a JWT. The JWT is self-containing, but we decided to extend JWTs by adopting the opaque token design pattern. The switch to an opaque token was only made after the initial implementation where we had sensitive information embedded in the JWT. The drive to an opaque design was triggered by a need to enrich the JWT without bloating the token with claims unnecessarily. The need to keep sensitive data from prying eyes was a secondary decision (but a right one!).
Identity vs Authorization Management
There was a key distinction between these two functions on the platform. Identity management would control user identities, while authorization management would control machine identities. Both can be combined, or identity management can be removed from the equation:
- If a machine needs to access our APIs, only authorization management would be involved.
- If a user needs to access our APIs, access would always be via an application. Identity management would take care of the user, while authorization management would take care of the application used by the user.

Great potential lies in the future
We finally settled on Okta as for Identity Management, and Auth0 for Authorization Management — playing to the strength of their individual portfolios (note: Okta eventually acquired Auth0!).
Data Access
We wanted a concept of pluggable data access providers. To this end, we encapsulated the data access component as re-usable Python classes in our App Engine run-time. Each class has a standard interface for talking to different database providers that are defined by the type of database technology it encapsulates i.e. RDBMS, document DB, etc.
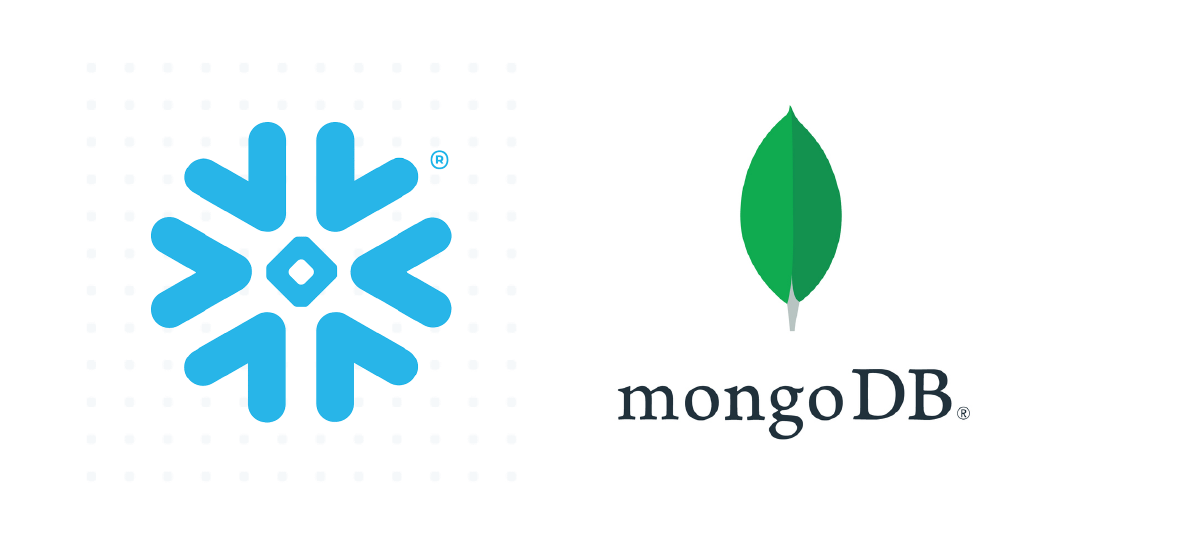
Our starter-pack data stores
We currently have 2 underlying database technologies in use — Snowflake and MongoDB. There will be a lot more in the future, and integrating them into our modular design will be easy.
Caching
Caching was introduced late into the game. This is implemented using a custom developed Python class that wraps around a REDIS instance. The caching strategy needed to be adjusted a number of times, but it has brought about a significant improvement in API response times. The first version of our caching strategy saw a 50% improvement in response times. The final version saw response times drop from 2–3s to < 1000ms (some APIs can now respond within sub-100ms).
It turns out the biggest hit to API performance was the calls to external systems — due to network latency, and compute requirements of the external system. For example: calls to an RDBMS to retrieve data, calls to a decryption service, calls to a secret vault manager, etc.
When caching a result in REDIS, we need a unique key to define the cache entry. To achieve this, we needed to use a fast hashing algorithm that has good dispersion, randomness, and minimal collisions in the quality of hashes generated. Yes, we use calculated hashes for all our keys rather than storing the keys in their underlying native format (don’t worry, this is really easy to understand when you read Part 2 of this series, I promise!).
API Security
This turned out to be the easiest decision. We needed an API Gateway! The gateway acts as a “firewall” for our APIs, among other things. It controls access, versioning, rate-limiting, and monitoring of our API stack. Since our APIs are hosted in Google App Engine, it was important for us to ensure that only the API Gateway is authorized to communicate with our App Engine instance. We achieved this by simply implementing IP whitelisting on App Engine’s firewall, and reserving a static public IP for our API Gateway’s egress traffic.
We settled on using Tyk (by the way, they have a really adorable mascot) as our API Gateway due to it’s excellent performance, ease of use, and extensibility. Plus, it runs out of Kubernetes, which we decided would be our run-time orchestration engine of choice for many of our platform components.

The choice of using Kubernetes will eventually drive the conversion of our App Engine instance into a Kubernetes workload. But that’s a story for another time.
Opaque Token Design
Our opaque token design is simple. The opaque key is generated in an Okta workflow, using a combination of a random UUIDv4 number and an Okta group-id. This opaque key is then inserted into a custom claim that is part of a token minted by Okta. The final JWT that a user possess for his / her logon session is actually minted by Auth0. More on this later!
Extensible Customer Metadata
We establish a store for customer metadata in MongoDB. A document DB was the logical choice because of the malleability of the underlying “schema” of the document.
The metadata is read at run-time by the APIs.
With those pieces defined, it was time to start work. Stay tuned for Part 2, where we cover how we engineered these components.
* * *
With those pieces defined, it was time to start work. Stay tuned for Part 2, where we cover how we engineered these components.
Note: This blog was originally published in July 2022 and has been updated for accuracy.